Line Item Set Up
Campaign and Line Item Best Practices for Setup
Use this guide to organize your Sponsored Products campaigns effectively, especially if you're managing multiple brands or product categories.
Scenario 1: One Brand, One or Multiple Categories
Recommended Setup:
Create one campaign for your brand.
Inside the campaign, create multiple line items to segment your products based on:
Product category (recommended)
Price range
Launch status (e.g., new vs. best-sellers)
Why This Works?
Helps you adjust bids based on different category floor prices and competition levels.
Makes keyword targeting easier and more relevant.
Keeps your data organized and reporting cleaner by product type or goal.
Tips:
Avoid selecting the same products (SKUs) in multiple line items within the same campaign unless you're targeting different keywords in each.
You’ll benefit from cross-line item optimization and more scale by grouping related products in the same campaign.
Where to view results?
Use Analytics > Campaign Summary or Activity Dashboard to check performance by line item or product category.
Scenario 2: Multiple Brands, One or Multiple Categories
Recommended Setup:
Create one campaign per brand.
Add multiple line items per campaign, grouping products by:
Category
Price point
Product type
Alternative Option:
Create campaigns by Brand + Category and use line items for deeper product segmentation.
Why This Works?
Keeps your strategy brand focused.
Allows you to tailor budgets, bids, and goals by both brand and product category.
Makes it easier to compare brand performance in reports.
Where to view results?
Use Analytics > Campaign Summary or Activity Dashboard to view performance by brand and category.
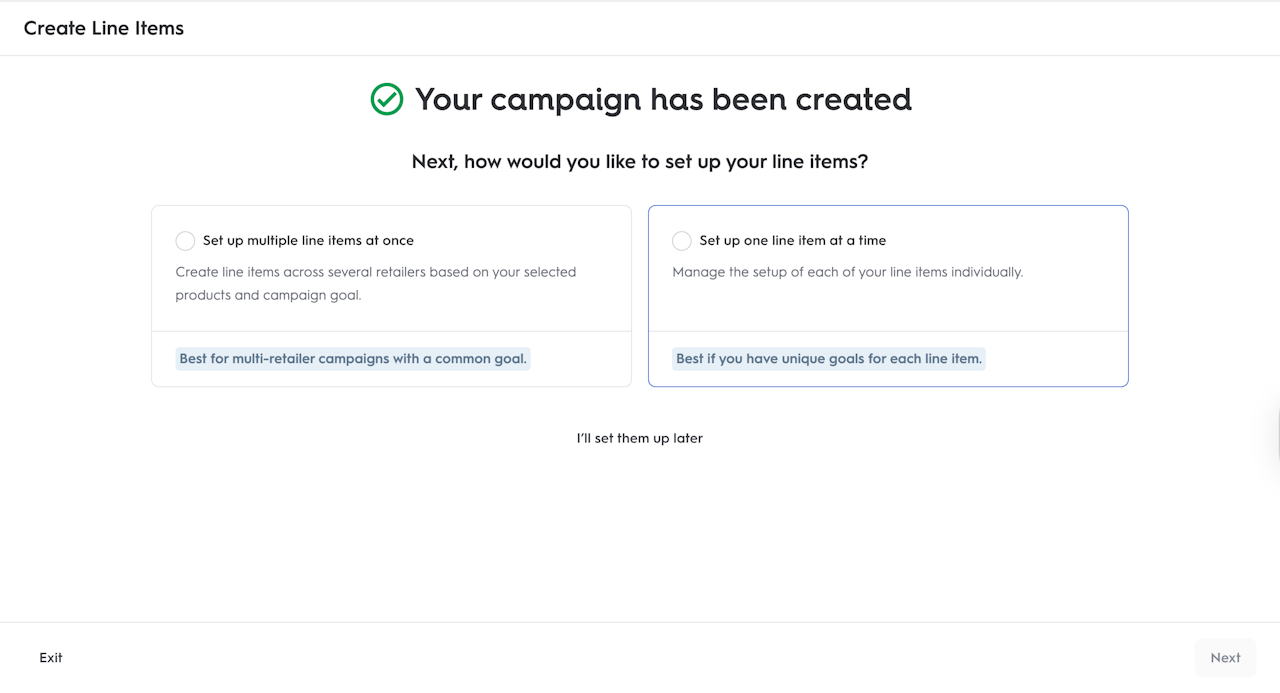
In this guide, you will learn how to create line items for Onsite Sponsored Products. If you’ve just completed the campaign creation workflow, you will be automatically redirected to create your first line item, or follow the steps below.
Go to the Campaigns section of the platform.
Find the campaign you want to add a line item to, and click its name.
You’ll land on the campaign page, where you can view existing line items and add new ones.
Click the +Line Item button on the left side of the page.
Choose between the following options:
Set up multiple line items at once: This option is designed to make it easy to create numerous line items at once, by retailer, for some or all of the retailers that carry the products you’ve selected to promote.
Set up one line item at a time: Set up retailer-specific line items individually.
I’ll set them up later: Come back and create your line items later; only your campaign shell will be created.

